On this page
Using KV in Node.js
Connecting to a Deno KV database in Node.js is supported via our official client library on npm. You can find usage instructions for this option below.
Installation and usage Jump to heading
Use your preferred npm client to install the client library for Node.js using one of the commands below.
npm install @deno/kv
pnpm add @deno/kv
yarn add @deno/kv
Once you've added the package to your Node project, you can import the openKv
function (supports both ESM import and CJS require-based usage):
import { openKv } from "@deno/kv";

// Connect to a KV instance
const kv = await openKv("<KV Connect URL>");

// Write some data
await kv.set(["users", "alice"], { name: "Alice" });

// Read it back
const result = await kv.get(["users", "alice"]);
console.log(result.value); // { name: "Alice" }
By default, the access token used for authentication comes from the
DENO_KV_ACCESS_TOKEN environment variable. You can also pass it explicitly:
import { openKv } from "@deno/kv";

const kv = await openKv("<KV Connect URL>", { accessToken: myToken });
Once your Deno KV client is initialized, the same API available in Deno may be used in Node as well.
KV Connect URLs Jump to heading
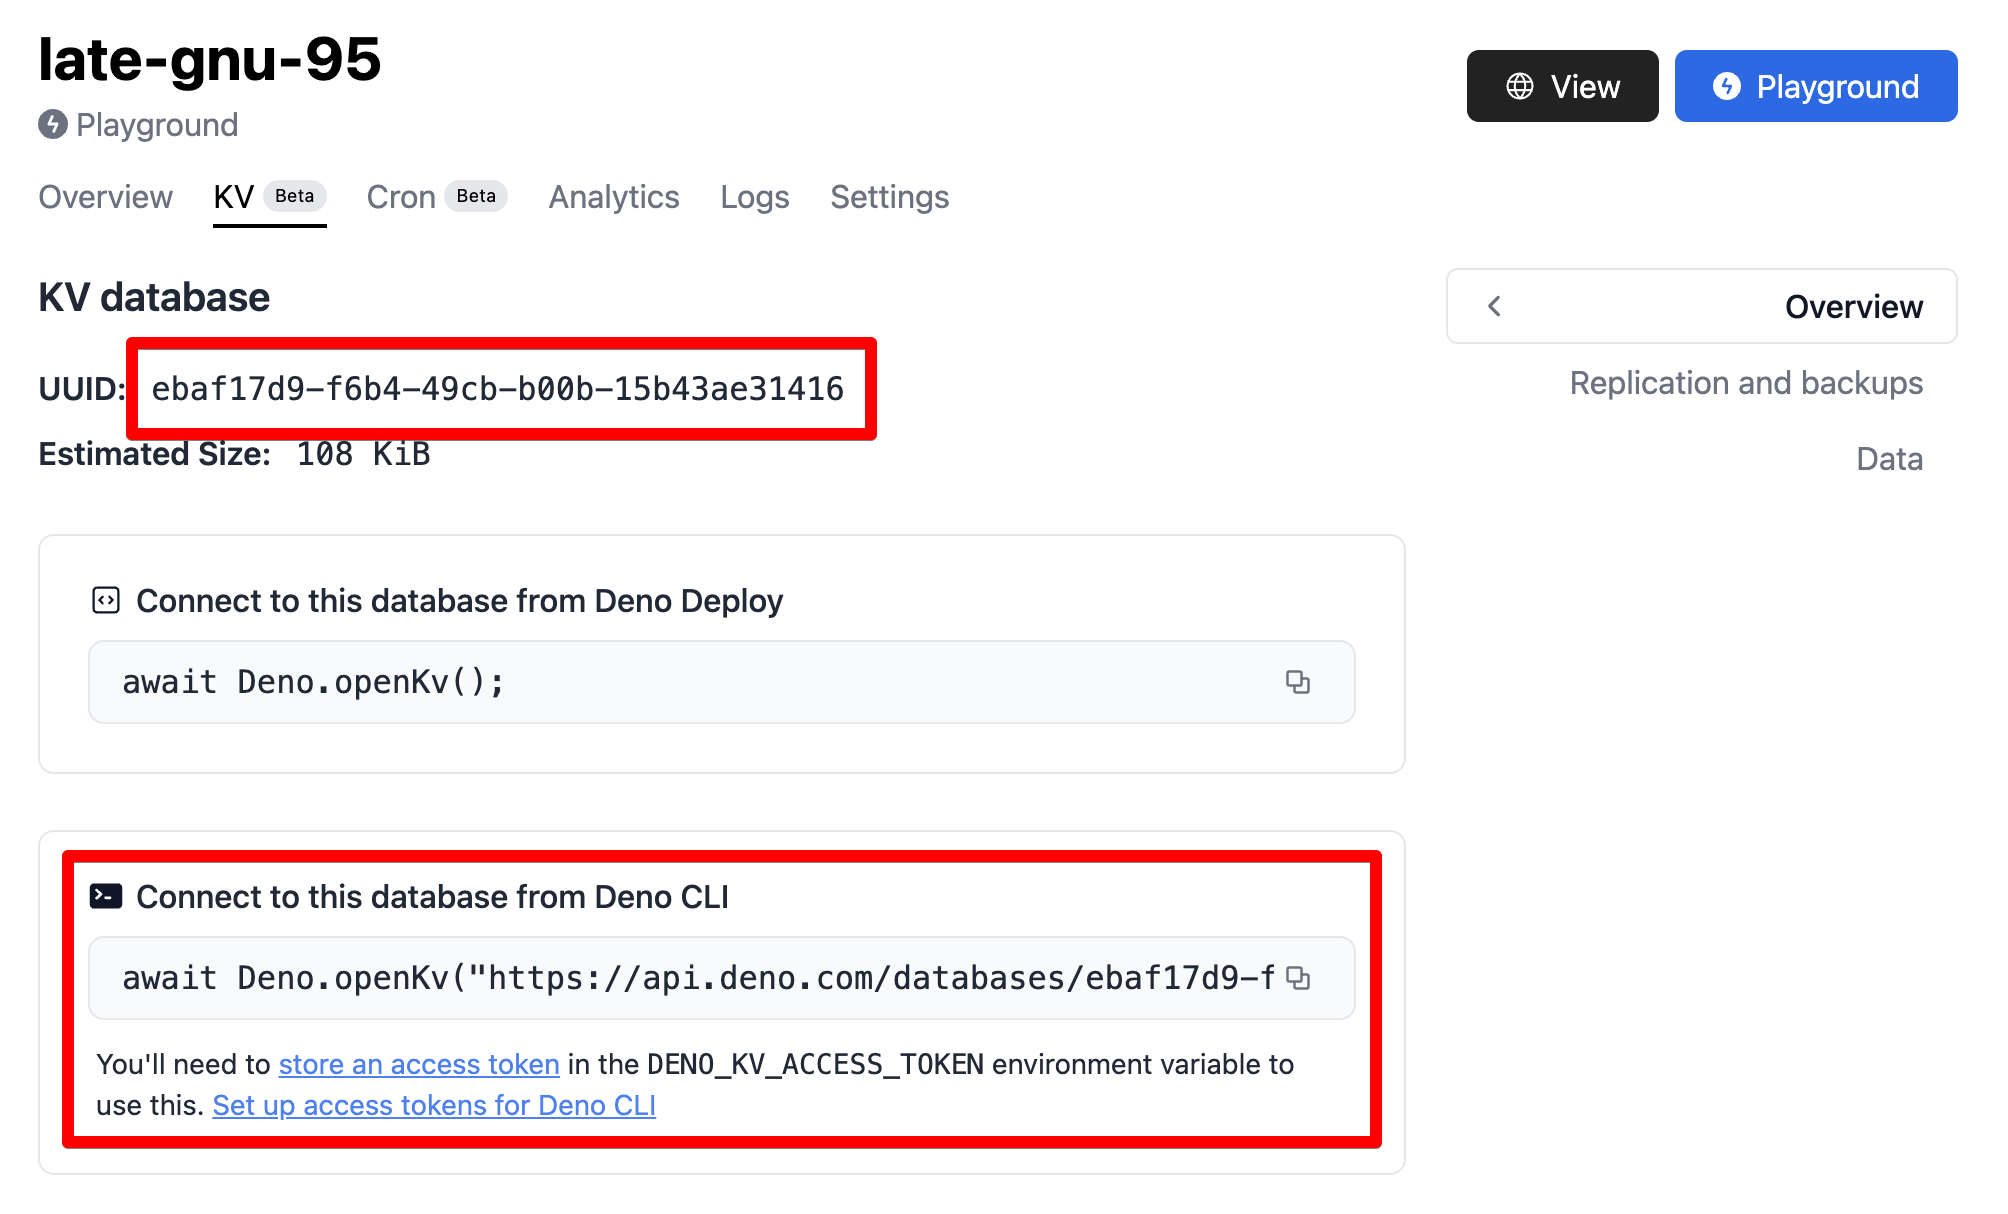
Connecting to a KV database outside of Deno requires a
KV Connect
URL. A KV Connect URL for a database hosted on Deno Deploy will be in this
format: https://api.deno.com/databases/<database-id>/connect.
The database-id for your project can be found in the
Deno Deploy dashboard, under the project's
"KV" tab.

More information Jump to heading
More information about how to use the Deno KV module for Node can be found on the project's README page.